Pages

Showing posts with label beekeeping. Show all posts

Sunday, January 20, 2013

Bad News

The green hive has died.
Sometime in the last 6 days, the entire colony has expired. 
I opened the hive to feed them the candy board and this is what I saw.

A pile of dead bees on top of the frames.
Even though I gave them fondant, I think they died of starvation.
Maybe they were too weak by that time, or the queen had already died.
The bee literature says that if you find them with their butts sticking out of the comb,
they probably died of starvation.
And none of the frames in the top box had any honey left in it. 
I guess I was too late in supplementing them.


Interestingly, as I disassembled the hive, I found 3 frames full of honey.
They were all on along the outer wall of the hive
 and it appeared the colony moved straight up the center of  the hive, and didn't 
migrate toward the colder exterior wall on one side.

 And in the 2 days between finding the dead hive and inspecting it,
a mouse had already moved in!
He'd chewed up the styrofoam insulation board and the entrance reducer.


I fed the other 2 hives candy boards.
Blue hive was deep inside the hive - I hope they are still alive.
I didn't check, it was too cold to be opening the hive for very long.
White hive huddled on the top super, like the green hive when last seen alive.
I hope they eat the candy board and survive.

Lessons learned:
Feed candy board early in the winter , probably December 1.
Add 2nd deep box on top of brood box during summer honey production for larger stores.

Thursday, November 15, 2012

Fall Beekeeping

The bees have given us honey 
and now its time to get them ready for winter.
Many things can kill a hive over winter.
Parasites, cold, damp conditions and even starvation.
I mixed up a sugar syrup and added a medication to prevent nosema,
a winter parasite.

 Each hive got a feeder full of the medicated syrup
on a warm Autumn day.
I also added an insulated cover.
Didn't have time to paint it.

The hive produces moisture as it generates heat to stay warm over the winter.
  The warm air rises and then condenses on the cold ceiling,
 dripping back down on the bees, stressing and killing them.
This winter cover has a piece of styrofoam in it to insulate the top.
In addition, I placed a board under one side of the hive to tip it slightly, 
allowing the moisture to run down the side instead of dripping on the bees.

 An entrance reducer is used, 
taking the entrance from this,

 to this.  
It keeps mice out of the hive
 and reduces the amount of cold air coming in.

Each hive has at least a full super (box) of honey to feed it over ther winter.
Around December 1st, I will wrap the hive in black roofing paper
 to help keep out drafts and absorb the winter sun.
Fingers crossed our bees survive the winter.

Saturday, July 14, 2012

More Beekeeping

Our hives are flourishing, even in the extreme heat.


Our green hive seems to be the strongest,
with lots of bees on the outside.

So I added another super to the hive to give them more room.


Upon checking the hives we are finding capped honey on the frames.


When we opened our white hive, 
we found lots of burr comb.  
This was our error, since we 
added a super without frames, 
to protect our syrup feeder from varmits.


The bees used the space to make more comb & honey.
We had to scrape off this comb in order to insert frames.

But it wasn't wasted, 


we had our first honey harvest and produced 8 jars of golden honey!  

Monday, May 7, 2012

More Buzz About Bees

On Sunday, we picked up 2 more "nucs" of bees.
A nuc is a bee package, with frames in a cardboard box
where the bees have been living for several weeks.
Upon opening the box,
we see that the bees have been building comb
 and working at establishing the hive.
The small block between 2 frames is the queen cage.
The workers have freed her from the cage at this point.

The empty cage.
It was plugged with a sugar plug which the
 bees chew through to get to the queen.

Pulling out the frames,
we see that lots of brood being cared for.
That's a good sign the queen is healthy and producing.

The queen is marked with a yellow dot 
so we've been able to spot her.
You can also see small white eggs in
 a few of the cells in the upper right of the photo.


The frames are being filled in nicely.

This end frame looks a little abnormal in its pattern.
Being newbies, we aren't quite sure if this is
 something we should be concerned about,
so we are checking with our mentors.
I'm hoping its just a result of being against the side of the box.


We are officially beekeepers!

Thursday, May 3, 2012

The Bees are Here!

In 3 days we are scheduled to pick up our ordered bees.
But in the meantime, a fellow beekeeper has offered us one of her swarms.
 
She arrives with the captured swarm in a box
.
 
My daughter sprays sugar syrup on the frames of the new hive
to calm them and attract them inside.
 
Opening the box of bees!
 
Bee, bees everywhere!
 
We dump them into the hive.
 
We are successful getting the queen into the hive
and the bees follow her down between the frames.
 
 
Busy bees!

Closing up the hive

Finally the hive gets a feeder full of sugar syrup 
to sustain them while they set up their home.
Welcome home!


Monday, April 2, 2012

Beekeeping 101

Last February, my daughter & I attended bee school
in order to prepare for keeping bees.
The hives have since arrived and we are somewhat anxiously awaiting the bees.

We painted the hives in order to differentiate them and
  to help protect them from the elements.

Mine is mint green.

The first component is the base with a sloped "front porch"
and a mesh screen on the bottom which allows debris to fall out and aids in ventilation.

Next, the brood box.
This is where the bees live, the eggs are laid,
 and larvae are fed, grow & hatch.
The gap between the brood box the the base is the entrance for the bees.

Inside the brood box are 8 frames which hang from a ledge inside the brood box.
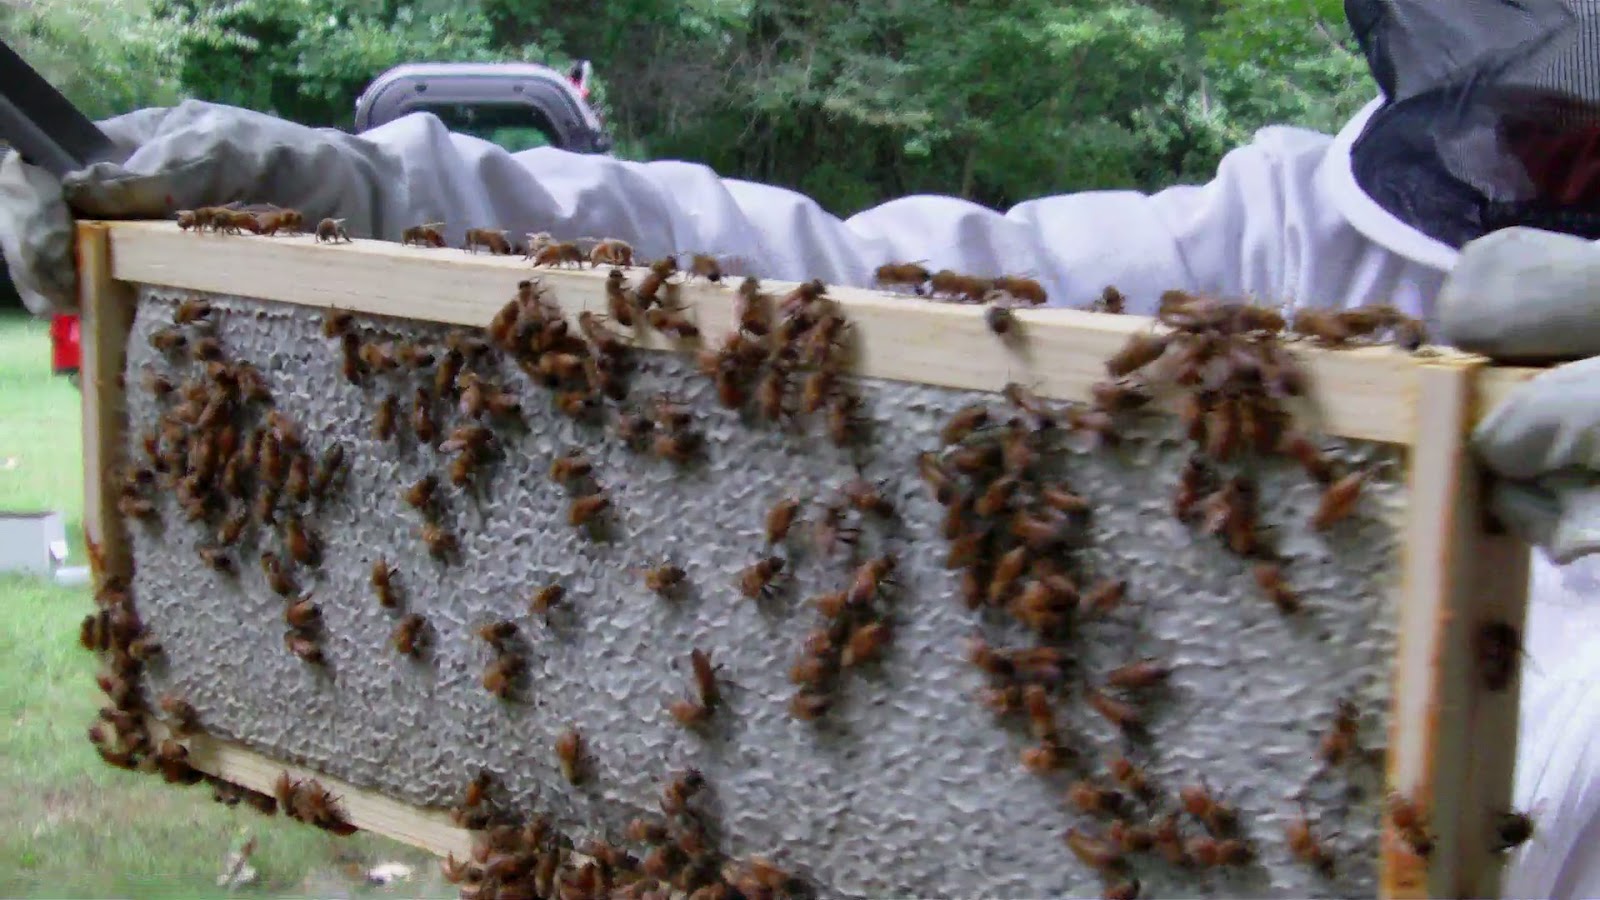
The frames are wooden rectangles which hold a wax coated foundation sheet.

The foundation is embossed with the six-sided pattern of beeswax cells,
which gets the bees started with the honeycomb.
The black background helps in spotting the eggs at the bottom of the cells.

On top of the brood box is the queen excluder,
which has a grid small enough for the worker bees
 to pass through, but not for the queen.
This keeps the eggs & developing larvae out of the honey box.

Next comes the "super", the box which holds the honey.
It too, has 8 frames, but is not as deep as the brood box
(honey weighs a lot).
We used white foundation in order to see the golden honey color.
 As the hive grows, I may have to add more brood boxes and supers,
but for now I'll start with these two boxes.

Next, a cover which is the ceiling of your hive.
The cover provides a buffer from the hot hive top and helps regulate airflow.
The oblong hole in the top is also an escape route for the bees.

Finally the roof, to protect from elements and scavenging animals. 

I decided my hive needed some color,

so I painted a few flowers and bugs on the hive just for fun.

I'm not much of an artist, but I don't think the bees will mind.


Monday, February 27, 2012

Bee School

Saturday I attended a beekeeping school.
I've decided that beekeeping will be my next adventure!

This hive was in the raffle.
I love how it is painted

Some other raffle items.

This bee suit was a high priority purchase for me!

Lunch was served, including honey & biscuits.

Someday......